DIY Projects

I just hauled the softener down to the basement and set it in the general location that it will be. That blue pressure tank is the one that I'll be pulling out of there. All that is left is a lot of water connections and a little wiring to get power to that location.

c639941586e86d017adfd4b98450d86e.jpg
 
Have you used Sharkbite water connections (no soldering) - there are other brands. I used them for the first when I replaced some shut off valves with ball valves, they work great.
 
I replaced our hot water cylinder which was really old and put in a gas califont hot water system that also runs our ducted heating in the winter.
It freed up a fair bit of space in our small house and gives us continous hot water.

cd48548d3c35fa93270cce469e726dae.jpg


Sent from my SM-G935F using Tapatalk
Okay, so I don't know your weather down on that side of the globe but really, outside? I guess it doesn't get that cold there? I say this as I am looking outside at 4 fresh inches of snow and 21 degree temperatures.
 
Okay, so I don't know your weather down on that side of the globe but really, outside? I guess it doesn't get that cold there? I say this as I am looking outside at 4 fresh inches of snow and 21 degree temperatures.
Yes, I guess I forgot about your severe weather.
 
Also, I got the bathroom vanity mirror and some other misc stuff installed today. Still have to replace the tub shower head and faucet. Also shelving and a new closet door in there.

19b26c99f9fb93bd0fa87d3ccccf7355.jpg
258437c9a09f5b3e4ec24ee9cd18b7b9.jpg
 
Finished installing the new pressure tank, whole home filter and water softener this morning. Had to work my way through a few small leaks but overall not too bad of an experience. My advice to anyone taking on something like this..... Use plenty of tape on those threaded joints. Take about 6 revolutions around those threads for a good seal. I did 4 wraparounds with the tape initially and some of those joints leaked. I undid those points and rewrapped them and had no problems.

e1f1c79553d76d7567952e81d0b4c4ba.jpg
 
Finally settled up with the insurance company on the water damage from the burst water heater. Going to stop today to schedule some new carpet install.
 
Really enjoy what you've been doing.
Isn't it the truth that something always unexpectedly pops up just when you think you've got a handle on the projects.
 
So, we just recently had the carpet replaced in the basement because of flooding. The last large piece of the puzzle was moved back in place over the weekend..... The pool table. I don't know how much the thing weighs but I am able to manage to move it using a floor jack and furniture movers/slides. Those things are awesome when moving large objects by yourself. Here's a pic after sliding part of the table off of the tile floor back onto the carpet.

c4f0182dc358d15adeacca1b46e4209b.jpg


Sent from my SM-G928V using Tapatalk
 
Next up..... Building an outhouse. Not the pit kind. I'm basically going to build an outdoor bathroom. One that can be easily accessed from our pool and our 'party' area in the backyard. Every time we host a party we have to let people walk through the basement to get to the bathroom at the other end. Since we recently had new carpet installed, I thought it was time that I finally get this project underway.

First step is to dig a ditch to run a sewer line from the location. I only have to dig about 15' total when running the line.

Second step is to dig the holes to set the four corners of the outhouse.

I'll be posting pics of this project as it develops.
 
I finished my utility room last year. I the first picture is the furnace, water heater, and water softener behind the bi-fold doors. A toilet and small vanity are adorned with a chandelier (which I bought for the dinning table but didn't like it). The chandelier is in an area with a tall ceiling found in split level homes (wasted space).

Utility room 003.jpg


Then I upgraded my washing machine and dryer, and added cabinets (I need a step stool to access the cabinets). I'm working on a shallow cabinet for wiring; some speaker wires are shown but my phone lines, cable, wifi, and LAN network will be added.

Utility room 006.jpg
 
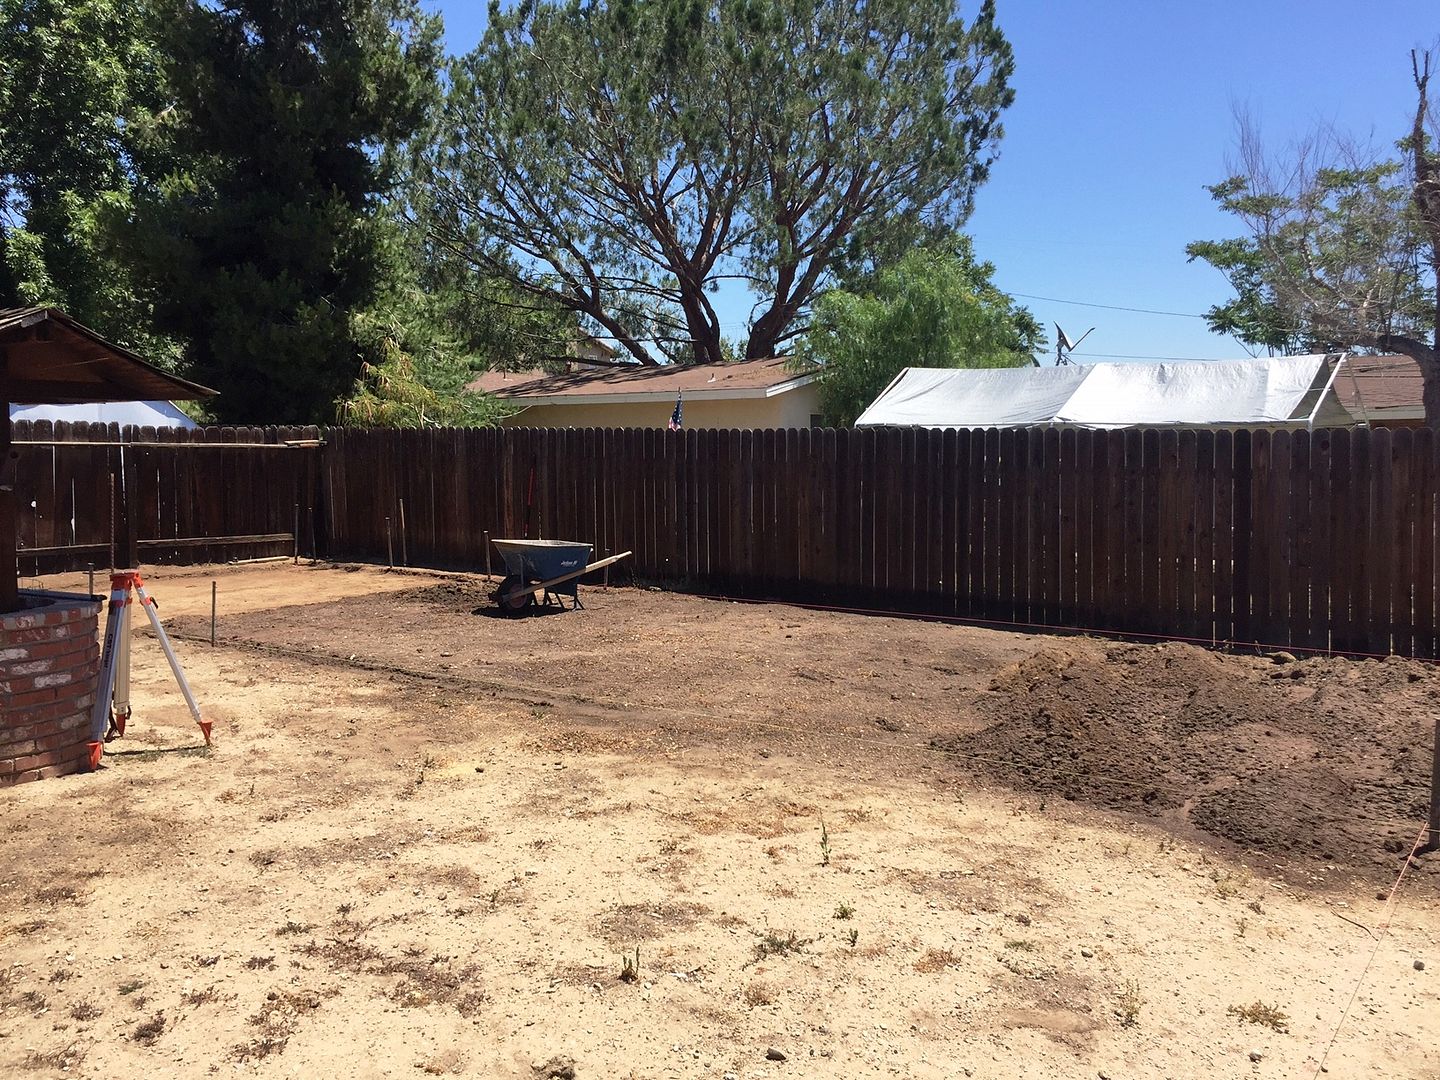
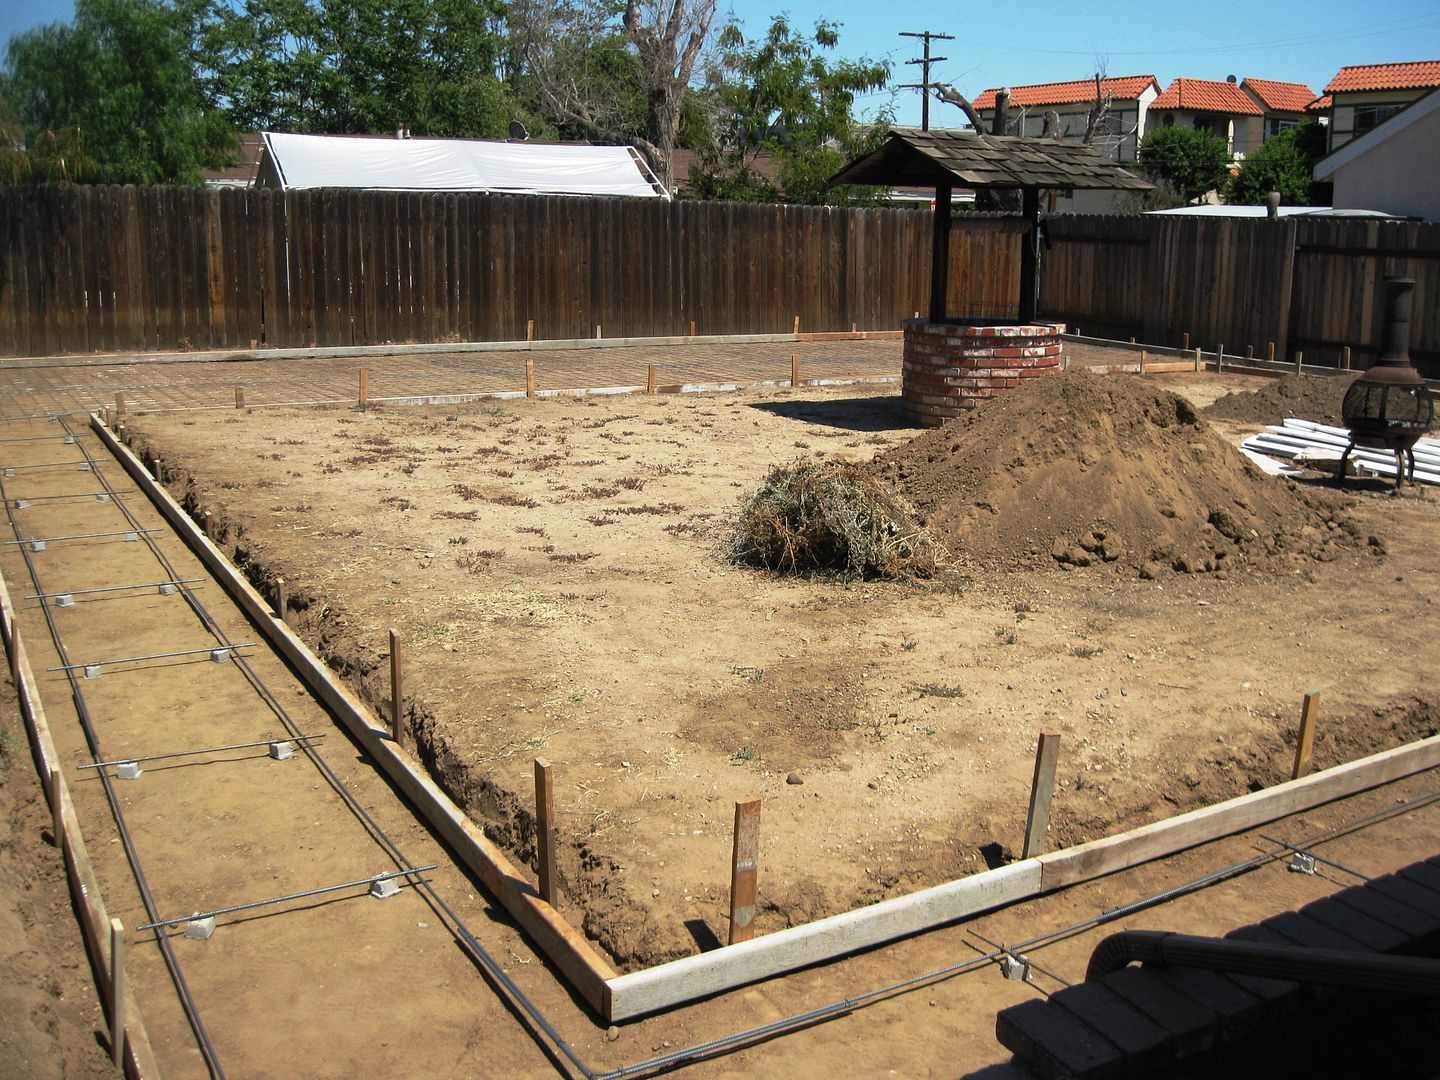
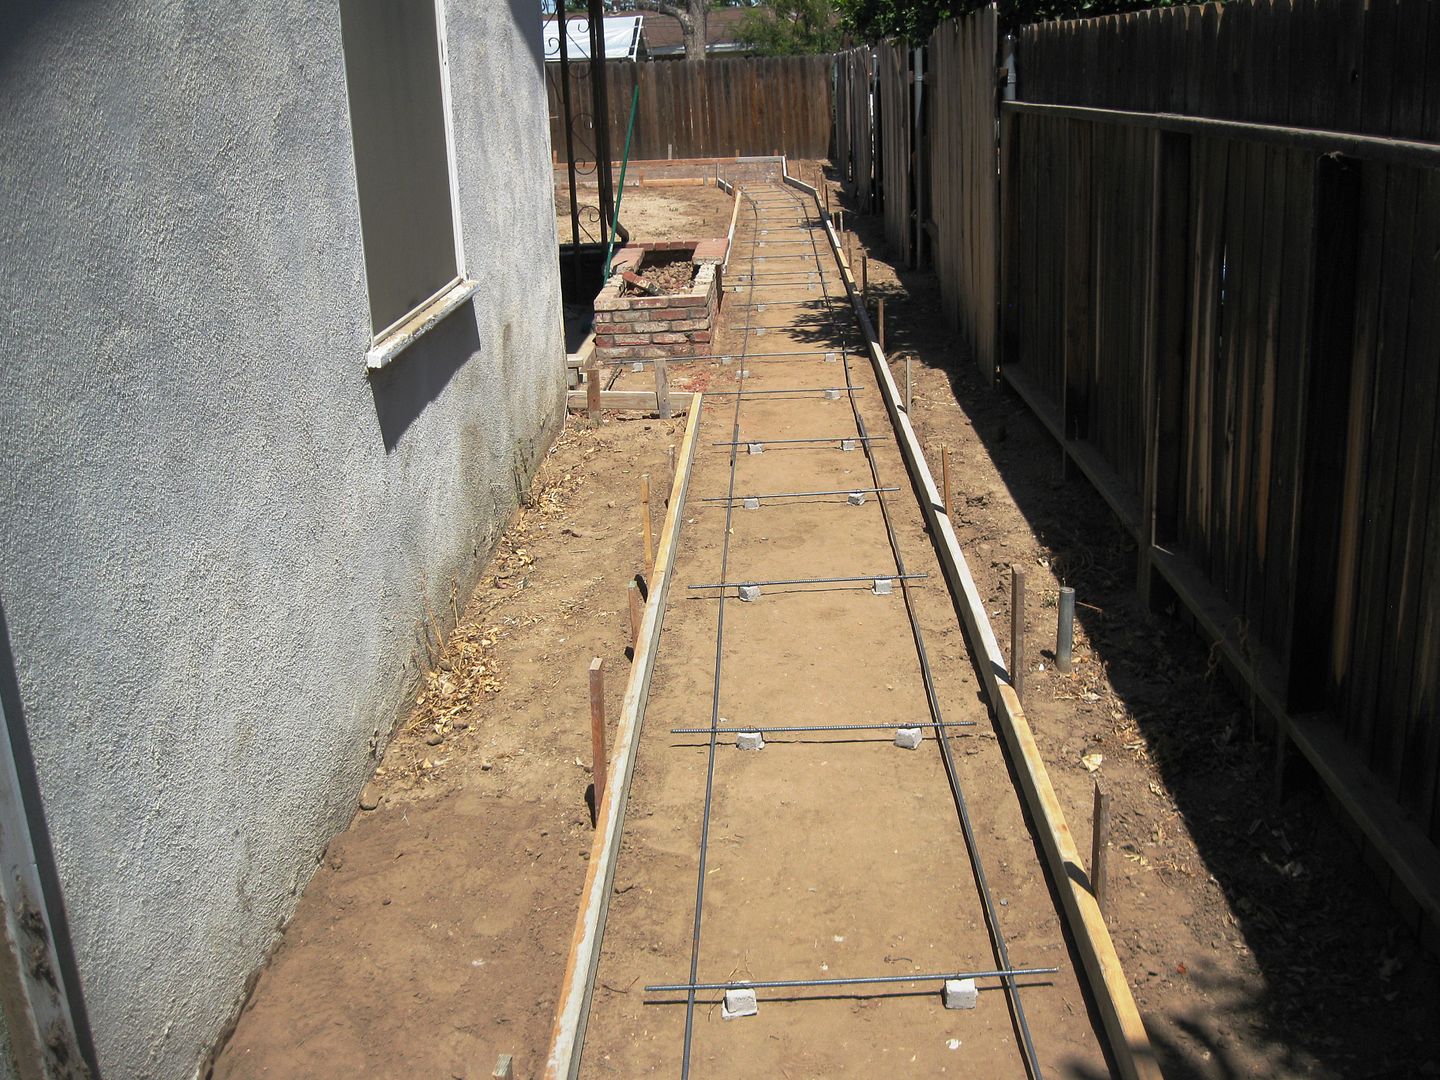
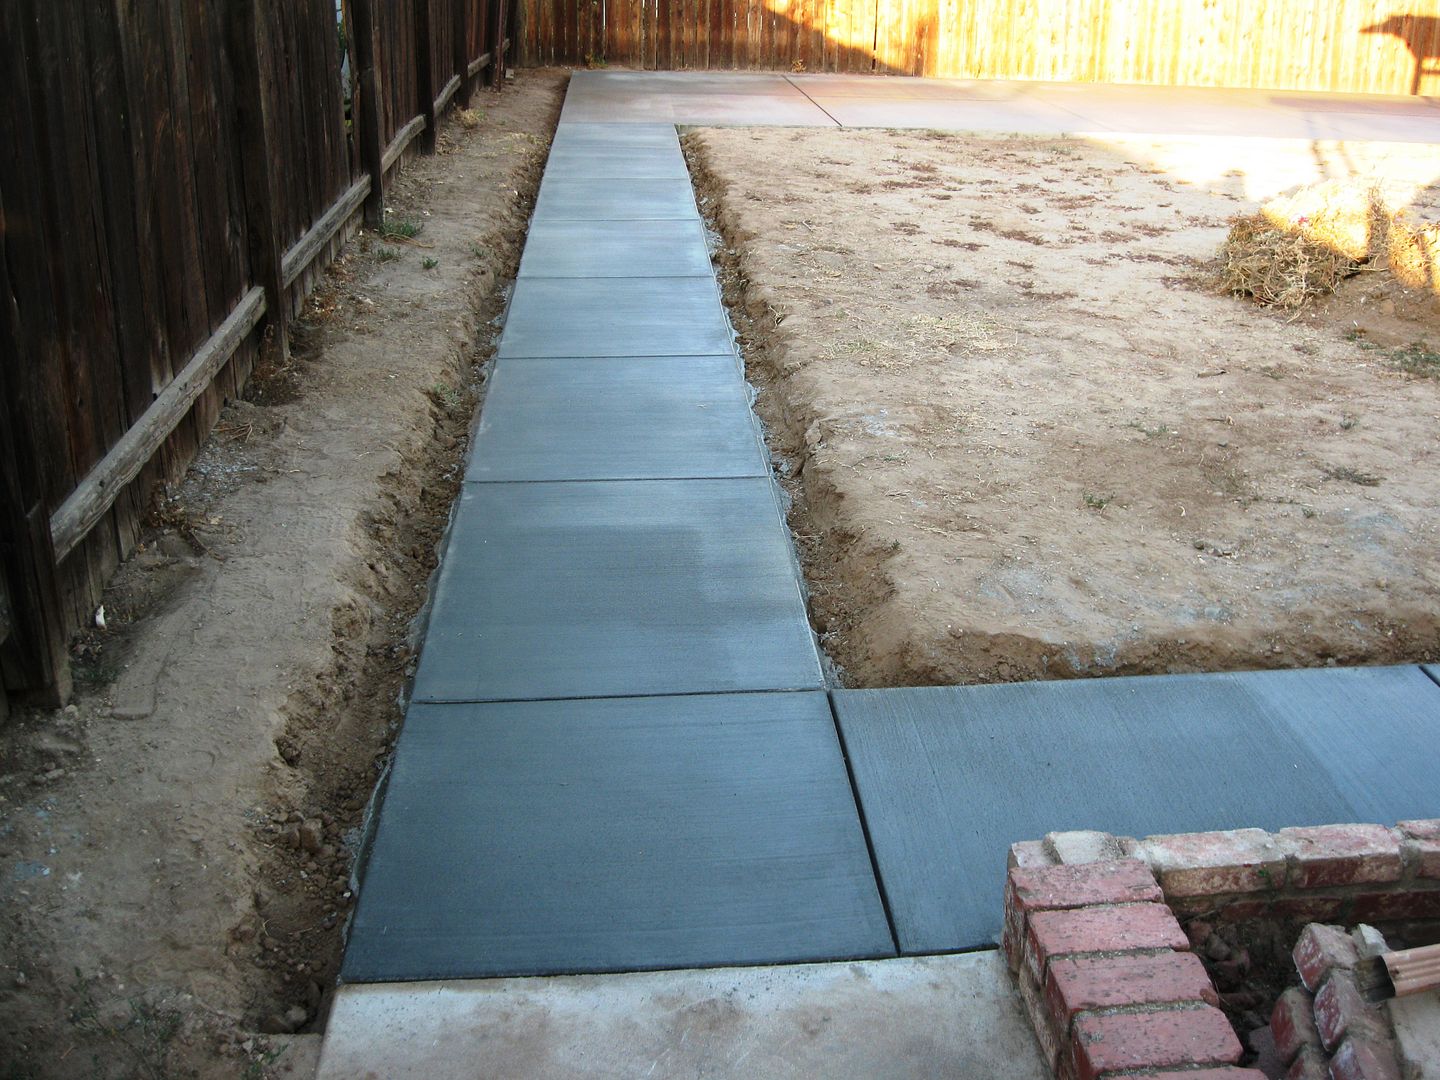
I've been messing with my house since March. I DIY'd the bathroom myself and I did a small amount of brick work in the backyard.
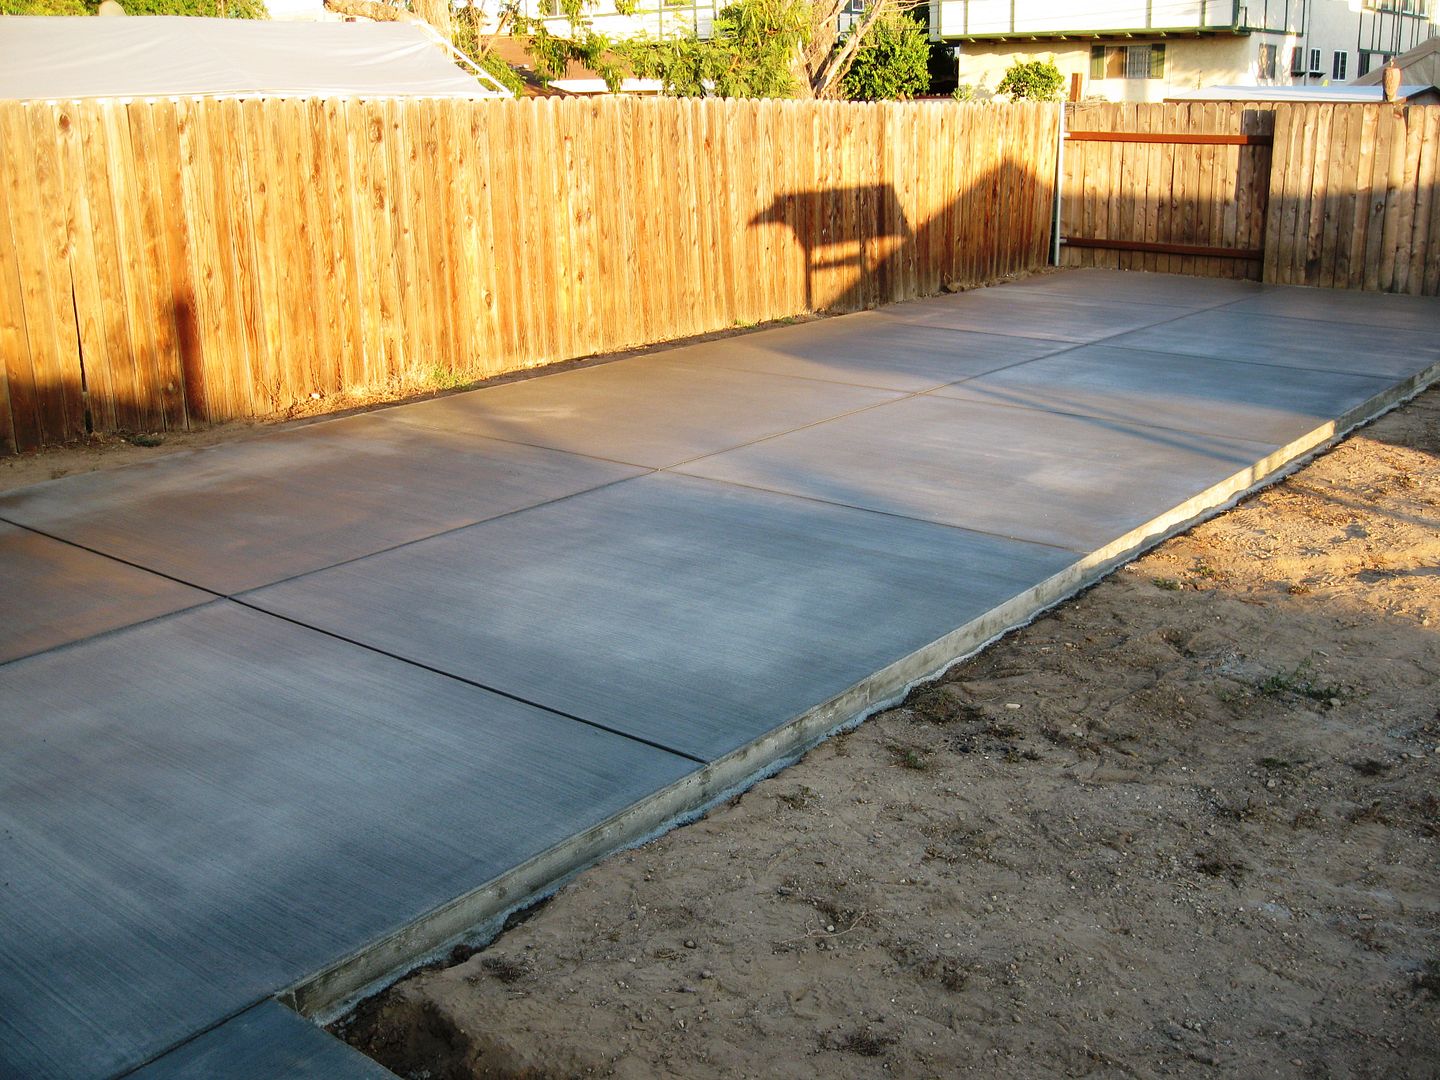
Tomorrow I'm getting a little over 14 cu yds of concrete poured. After that I'll level the "new" grass area, install irrigation in the grass area and run a 1" copper line from the front of the house to the backyard.
 
Work on the outhouse/bathroom continues. Weather hasn't been cooperating. I've only made it as far as digging the ditch and installing the lines for the septic. Once I start on the framework, I'll post some pics.

In the meantime, I've started another project to work indoors until the weather breaks. A while back I had a large deck built on the back of the house. I'm finally getting around to working on the lighting. I'm going to install some string lighting. My wife and I measured last night. The total run is going to be about 140'. I'm going to run it back and forth from the house to the far end of the deck for the entire length of the deck. I have no problem mounting the cable ends to the house but I have nowhere at the far end of the deck to mount the cable. That's where the project comes in. Texas Lamp Posts. Paging @TexasRaceLady..... Do you know what I'm taking about?

Anyhow, I purchased five half barrels today. Jack Daniels Half Barrels to be exact. I've got some work to do on them. That's this weekend's project. Here they are in their current condition. Hope to get them all cleaned and ready for some wood preservative by Saturday night.....

I've got to tell you..... These things smell awesome!


3e783d8213e93dc5d58725ecac431b4b.jpg
 
That pic really makes them look much smaller than they are. I think they are about 25" in diameter. I didn't measure the height. They probably go about 30-40lbs.

Here's a general idea of what they will look like. Random pic from the interweb.....

DIY-Patio-Area-with-Texas-Lamp-Posts-1.jpg


Mine will not look so nice on the outside as I want a more rustic look to them. Here's a pic of what needs to be done on the inside of each of the half barrels.....

F9NEDJ1IEY3AEE6.MEDIUM.jpg
 
Here's a general diagram of the light layout planned. Nothing is to scale. This was just to show my wife what I had in mind. The house is the top of the pic. The area drawn is a basic view of the multilevel deck border. Round objects at the bottom are the five barrel's.

Lights (Deck) II.jpg
 
Welp..... my deck lighting project has now turned into a deck staining project before the barrels are placed on the deck. I won't be able to move the things once I load them up with rock & dirt for planting so I've now added deck staining to my home project list. Started it yesterday. It is a long, long process.
 
Welp..... my deck lighting project has now turned into a deck staining project before the barrels are placed on the deck. I won't be able to move the things once I load them up with rock & dirt for planting so I've now added deck staining to my home project list. Started it yesterday. It is a long, long process.

Have you thought about putting castors or feet under the half barrels?

I say this because I have a couple of large pots on my deck with a lemon and lime that have sat for a long time and when I moved them recently I noticed some wood degradation from moisture. We get a lot of rain in winter.....well anytime really and you may too in winter. Just a thought as they will be pretty heavy.

I saw this pic on the net....
Wine Barrel with Castors.jpg
 
Have you thought about putting castors or feet under the half barrels?

I say this because I have a couple of large pots on my deck with a lemon and lime that have sat for a long time and when I moved them recently I noticed some wood degradation from moisture. We get a lot of rain in winter.....well anytime really and you may too in winter. Just a thought as they will be pretty heavy.

I saw this pic on the net....
View attachment 27659
I did put 'feet' on them to keep them raised off of the deck. I hope that relieves the moisture issue. Their stationary position is desired as they are going to support the overhead deck lighting.

We only got in about an hour of staining today before rain came again. It's a slow process. The time consuming part are the spindles. I never counted them but they suck to stain once installed.
 
Right now I'm working on the outside of the highest level from a ladder. That's the hardest part of the job so I'm trying to get that over with first.
 
You can catch a glimpse in that middle pic of where I'm building my outhouse/bathroom. It's where I left the shovel sticking out of the ground. The septic pipe is buried but I've yet to start the framework. The lumber to get started is sitting on my front porch out of the weather.
 
Back
Top Bottom