
You are using an out of date browser. It may not display this or other websites correctly.
You should upgrade or use an alternative browser.
You should upgrade or use an alternative browser.
DIY Projects
- Thread starter dpkimmel2001
- Start date
You can never have too many tools.Overall that little backhoe has saved me time and performed a lot of work. You wouldn't believe some of the things it's accomplished.
I couldn't do what you are talking about without the pipe ending up coming through the floor into the bedroom above the stove and then out.I have a pellet stove and it's in the basement. Pipe exits the stove, goes up, turns horizontal and exits 3 feet above ground.
I have never seen the exhaust exit below grade in a window well. Is that legal where you are?
What I am doing is exiting through the wall into that window well and then the pipe with go up an additional 3'-4' above ground level. It won't finish below ground level. I just need some way to get it out of the house and above ground level.
I'll try taking a pic from the other side of that wall in the basement later today. It may then make more sense..
I tried making this quick drawing to possibly make it make more sense. Or, it may just confuse things more, IDK.

- Joined
- Mar 16, 2014
- Messages
- 618
- Points
- 223
Can't see why this wouldn't work. This would even be OK for a woodstove chimneyI tried making this quick drawing to possibly make it make more sense. Or, it may just confuse things more, IDK.
View attachment 29463
Sent from my SM-T280 using Tapatalk
Yeah, there's no reason it won't work. My only issue will be the 2nd elbow. I'm not investing in a cleanout tee for that location. I will have to clean it from the outside using a shop vac.Can't see why this wouldn't work. This would even be OK for a woodstove chimney
Sent from my SM-T280 using Tapatalk
kymartin6
KY
Yeah......... they are great....... and tough as hell....... I work for an AG dealership....... we sell Kubota.... great product........Overall that little backhoe has saved me time and performed a lot of work. You wouldn't believe some of the things it's accomplished.
Purchased the two 3" 90degree elbows for the pipe run. Those damn things are expensive as heck.  Should be able to breach the basement wall this weekend to make the initial run of pipe for measurement. In the meantime, I have to repair the wall in the area that the stove was installed. Going to do some cement work this evening to seal up the exterior of the hole.
Should be able to breach the basement wall this weekend to make the initial run of pipe for measurement. In the meantime, I have to repair the wall in the area that the stove was installed. Going to do some cement work this evening to seal up the exterior of the hole.Got the hole busted through the wall today with a grinder and hammer/chisel. Tough going but I got the pipe hooked up to the stove. The area that the stove is sitting on is yet another project. It will eventually be sitting on hearth stone bordered by some sort of flat stone. The wall behind it will also be covered in stone when all is said and done. Here's a few pics of today's progress. Tomorrow I'll finish setting and back filling the window well.


Sent from my SM-G928V using Tapatalk


Sent from my SM-G928V using Tapatalk
I've got to get some more masonry screws to finish this part of the job.

Sent from my SM-G928V using Tapatalk

Sent from my SM-G928V using Tapatalk
Youv'e alreadyhad 2 floods. Is that chipboard very wp?Got the hole busted through the wall today with a grinder and hammer/chisel. Tough going but I got the pipe hooked up to the stove. The area that the stove is sitting on is yet another project. It will eventually be sitting on hearth stone bordered by some sort of flat stone. The wall behind it will also be covered in stone when all is said and done. Here's a few pics of today's progress. Tomorrow I'll finish setting and back filling the window well.
Sent from my SM-G928V using Tapatalk
I've taken care of whatever water could come in from the outside. The inside..... I could never protect everything from that. Something like a pipe bursting or the like. The chip board that you see underneath the stove is regular flooring that is commonly used in home construction. That will all be sealed off after the stone is installed.Youv'e alreadyhad 2 floods. Is that chipboard very wp?
Thanks. Lots to do yet and the wife never runs out of ideas.Looks really good BTW.
Yeah, sometimes we're like that. I've just given my contractor a small list of projects. hehehenever runs out of ideas.
Johali
Contributor
- Joined
- Mar 21, 2012
- Messages
- 26,697
- Points
- 1,033
Does "contractor" equal brother?Yeah, sometimes we're like that. I've just given my contractor a small list of projects. hehehe

Nope. He's handy, but these are not "brother" kinds of jobs.Does "contractor" equal brother?
Need 2 regular doors put in and re-working the door to the hot water heater(this one might be a bear to fix)
Wanted to share these pics. My wife always wanted an island in the kitchen. Recently when remodeling our hall bathroom we replaced the vanity. The old vanity matched our kitchen cabinets. Both the kitchen cabinets and bathroom vanity were originally made by my father in law. We were able to get him to convert our old vanity into the island that she's always wanted. The top is made from various types of wood to create a chopping block style top. He put in a large drawer on the side to allow us to move our kitchen garbage receptacle out of sight. Next up..... A trip to one of our local Amish furniture makers to have two saddle stools made to be able to sit next to the island.


Sent from my SM-G928V using Tapatalk


Sent from my SM-G928V using Tapatalk
Also, back filed the window well yesterday.....

Sent from my SM-G928V using Tapatalk

Sent from my SM-G928V using Tapatalk
Johali
Contributor
- Joined
- Mar 21, 2012
- Messages
- 26,697
- Points
- 1,033
Damn good job but Zima? Turn in your BL man card immediately.Wanted to share these pics. My wife always wanted an island in the kitchen. Recently when remodeling our hall bathroom we replaced the vanity. The old vanity matched our kitchen cabinets. Both the kitchen cabinets and bathroom vanity were originally made by my father in law. We were able to get him to convert our old vanity into the island that she's always wanted. The top is made from various types of wood to create a chopping block style top. He put in a large drawer on the side to allow us to move our kitchen garbage receptacle out of sight. Next up..... A trip to one of our local Amish furniture makers to have two saddle stools made to be able to sit next to the island.
Sent from my SM-G928V using Tapatalk

They haven't sold that stuff around here for many, many years. Earlier this year it was released on a limited edition. I bought six cases. My wife and a lot of her friends really like the stuff. Had to stock up while I had the chance. Those couple cases were getting ready to be carried downstairs and loaded into the bars beverage fridge. There are a lot of good times ahead contained within those two cases. There are three more just like it out in the garage.Damn good job but Zima? Turn in your BL man card immediately.
Johali
Contributor
- Joined
- Mar 21, 2012
- Messages
- 26,697
- Points
- 1,033
I thought they didn't make it anymore so I googled it when I saw the picture.They haven't sold that stuff around here for many, many years. Earlier this year it was released on a limited edition. I bought six cases. My wife and a lot of her friends really like the stuff. Had to stock up while I had the chance. Those couple cases were getting ready to be carried downstairs and loaded into the bars beverage fridge. There are a lot of good times ahead contained within those two cases. There are three more just like it out in the garage.
http://www.zima.com/
I think it was a limited release to gauge it's appeal. I know a couple people here that own beer distributors. Neither received as many cases as they ordered. Both were sold out within hours. I think it'll make a comeback in this area again.
Johali
Contributor
- Joined
- Mar 21, 2012
- Messages
- 26,697
- Points
- 1,033
By the looks of the website I'd say that you are correct.I think it was a limited release to gauge it's appeal. I know a couple people here that own beer distributors. Neither received as many cases as they ordered. Both were sold out within hours. I think it'll make a comeback in this area again.
Today's project..... Painting the shutters. Just checking stuff off of the list.


Sent from my SM-G928V using Tapatalk


Sent from my SM-G928V using Tapatalk
Gonna need more paint.
Sent from my SM-G928V using Tapatalk
Sent from my SM-G928V using Tapatalk
Johali
Contributor
- Joined
- Mar 21, 2012
- Messages
- 26,697
- Points
- 1,033
Are those the things that cover windows up in Santa Land to keep Jack Frost outta the house?Today's project..... Painting the shutters. Just checking stuff off of the list.
Sent from my SM-G928V using Tapatalk

Nothing more than decoration round these parts.Are those the things that cover windows up in Santa Land to keep Jack Frost outta the house?
Wired my new rear sprinklers into a new RainBird irrigation timer. Recently have new tall fescue sprouties.
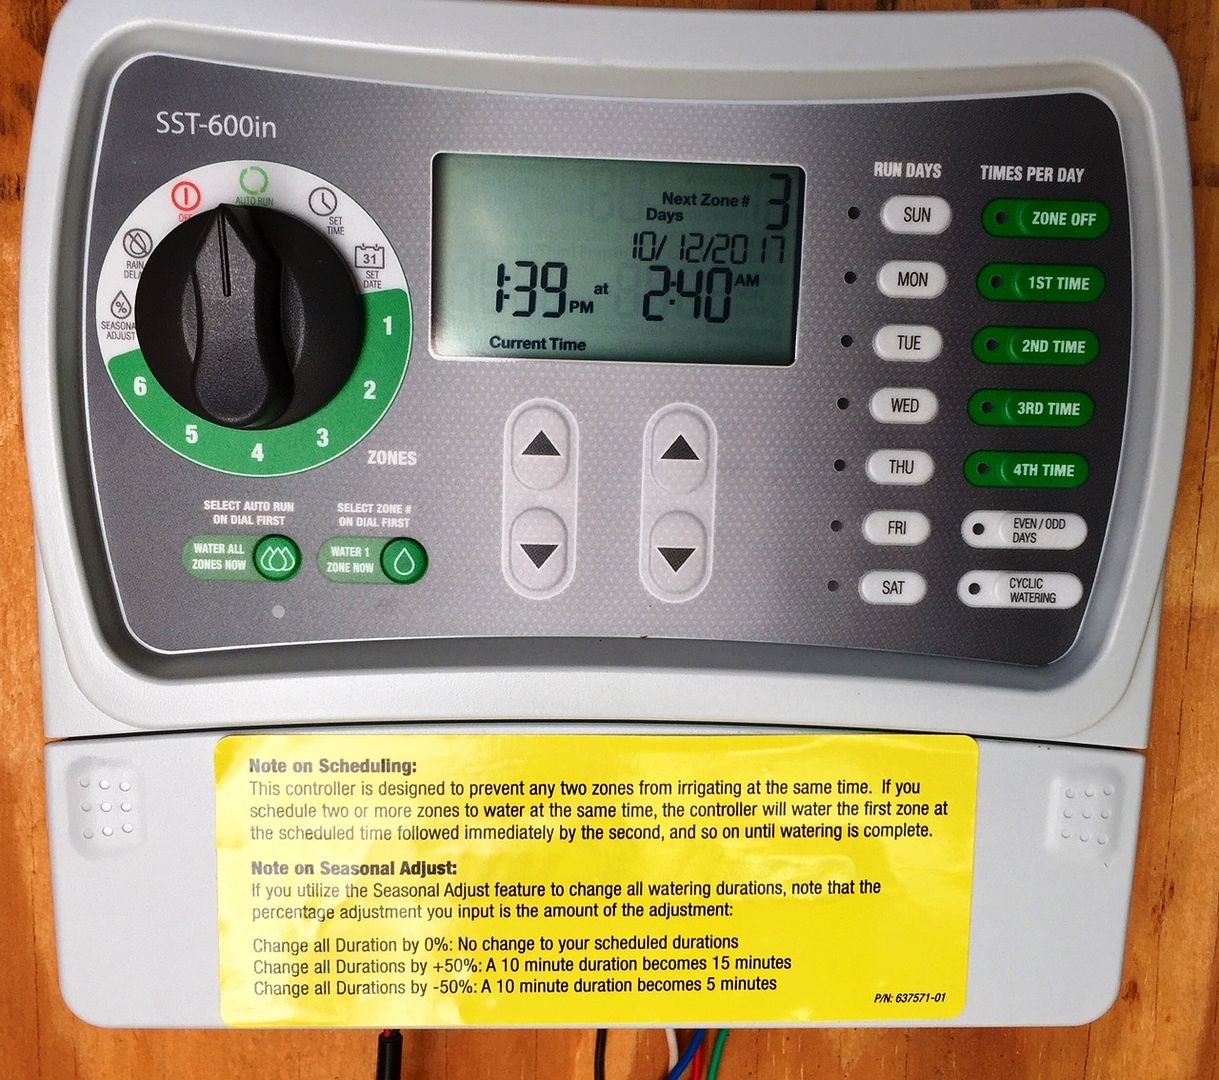


I’m not at all familiar with what you’re doing there..... Does the unit in that bottom pic get placed underground somewhat? I can’t really picture how that works.Wired my new rear sprinklers into a new RainBird irrigation timer. Recently have new tall fescue sprouties.

I had valves in the front yard that were wired to an old Toro timer. When I did the backyard, they had to run PVC from the front into the back with two valves (pictured) and then the 14 sprinkler system mapped in after the valves. The new irrigation controller operates the two previously existing front yard valves and the two new valves installed in the back yard. I had to rewire the old front area valves. The guy that ran the two back yard valves ran an 18/5 wire loom underground with the new PVC. I just had to wire it in and eliminate my old wiring in the front yard.I’m not at all familiar with what you’re doing there..... Does the unit in that bottom pic get placed underground somewhat? I can’t really picture how that works.
Office coordinator told me Friday that I needed to take off one more floater holiday before 12/31 so I decided to buy a new programmer and wire it in.
Bucky Badger
Go Kyle Go


I've got a kobata Bx too. I love that tractor. Saving a lot of money with itI would have never hit the pipe had I just dug by hand.

Sent from my SM-G928V using Tapatalk
kymartin6
KY
Kubotas are tough little tractors....... the only thing you have to be really careful about is not letting the engine overheat and use clean diesel fuel......
I almost much finished my wire central cabinet project, I still need to attach the distribution blocks. I stained yellow poplar (cheap wood). Speaker wires upper left, phone lines lower left, cable upper right, Ethernet cable distribution block upper right and LAN switch lower right (connected w/blue cables). My wifi modem will be located on the shelf. I made provisions for doors (hinges on right) but I won't be making doors for awhile so I made some plugs for the hinge holes (left side). This is in my laundry room. Next up is routing the rest of the wires which is a future project.

mike honcho
Knuckleheads
I just put 1 of those in a couple of months ago. My old Irratrol controller took a crap on me.Wired my new rear sprinklers into a new RainBird irrigation timer. Recently have new tall fescue sprouties.
Super easy to program. I had an old Toro that was a pain in the ass.I just put 1 of those in a couple of months ago. My old Irratrol controller took a crap on me.
mike honcho
Knuckleheads
The Irratrol wasn't to bad but just to old.I like this one.Super easy to program. I had an old Toro that was a pain in the ass.
Today's project.... closet doors. Finally getting around to working on these. Probably obvious from the pics that I really don't know what the heck I'm doing but I'll get it figured out. I've got a bunch to do in the house since we've been remodeling. Anyhow, today I had to rip one board down to get the correct width of this door for a double door hall closet. I sanded the exposed edge to create a slight recess between each of the boards. I then glued them together placing them in a few clamps till tomorrow. I'm going to distress the doors after they've bonded. I'll repeat the process with another just like this one after this one is complete. Pics so far.....


Sent from my SM-G928V using Tapatalk


Sent from my SM-G928V using Tapatalk
It looks like you know how to glue boards together (hehe). Good luck with your project. Every project I start is from an idea and I typically end up spending a lot of time figuring out how to fix my mistakes. BTW, I use a silicone glue brush (from Rockler) to smooth out the glue evenly, the glue doesn't stick the the bristles and are easily cleaned when the glue dries.
Okay, so these are the two doors that I made this weekend, stained and waiting to dry before covering with some Wipe on Poly. Should have them ready to hang next week if I've get the time. Have to get the hardware first.


Sent from my SM-G928V using Tapatalk


Sent from my SM-G928V using Tapatalk